How to Move iTunes Apple Music to external hard drive
Apple Music is one of the best streaming subscription services now. It costs $9.99 per month, which allows you to listen to any of the songs in its catalog and stream to your computer, iPhone, or iPad over an Internet connection, or you can download them to play directly from your device. But you're streaming, not buying. Even if it's on your phone or computer, the songs from Apple Music won't play after you cancel subscription.
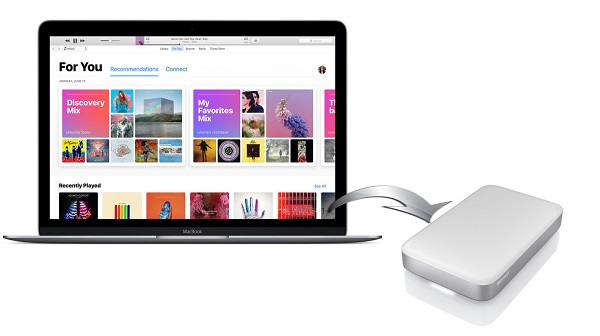
You may have some or all of your music stored in the iTunes library. If your Mac's hard drive is getting full, you can move your entire iTunes library to an external hard drive to free up space. Moving your iTunes library to an external hard drive is a good idea.
Part 1. How to backup your iTunes library to an external hard drive
Before start, please make sure you have install the latest version of iTunes. And update your existing backup or make a new one if you don't currently back up iTunes. More tutorial you can find through Apple Support center.
1. Connect your external hard drive to your computer using a USB cable.
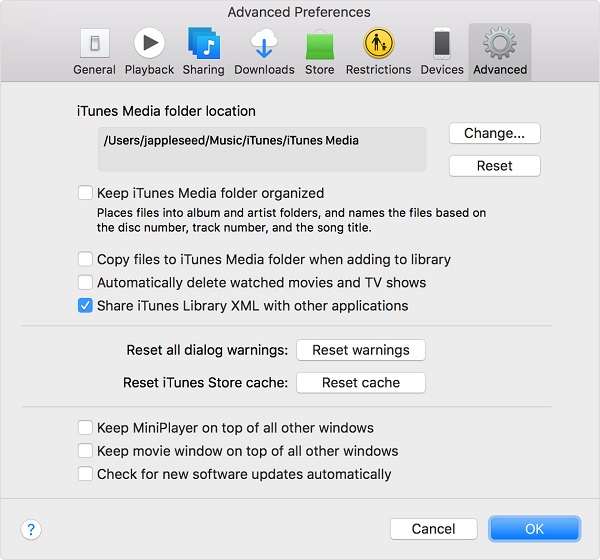
2. From the menu bar at the top of your computer screen, choose iTunes > Preferences.
3. Click the Advanced tab. Look in the box under "iTunes Media folder location" for the location of your iTunes Media folder.
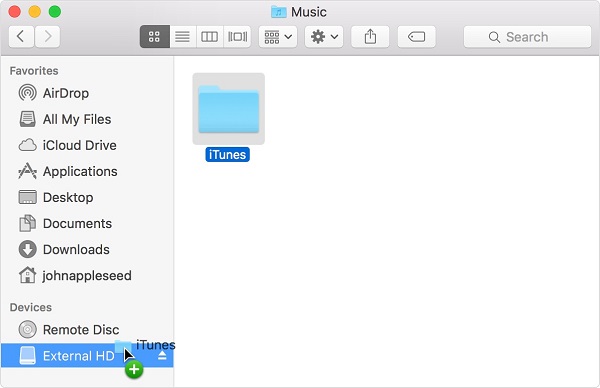
4. Drag the iTunes folder from its location to an external drive. Your library and media files copy to the drive.
Part 2. How to save Apple Music to an external hard drive
But according to the above method, you should restore iTunes library from your external drive to your computer. Here, we will introduce the more convenient way for you. Firstly you should download Tune4Mac iTunes Apple Music Converter.
It is a professional iTunes Converter. With it, you can not only convert Apple Music files to MP3, WAV, AAC, FLAC, ALAC and AIFF, but also can transfer them to your external hard drive, iPhone 8, iPod, Apple TV, Android smartphones, common MP3 players and other devices. It is fully compatible with macOS 10.11 or later (including macOS 12 Monterey).
Step 1. Install and launch Tune4Mac Apple Music Converter on your Mac.
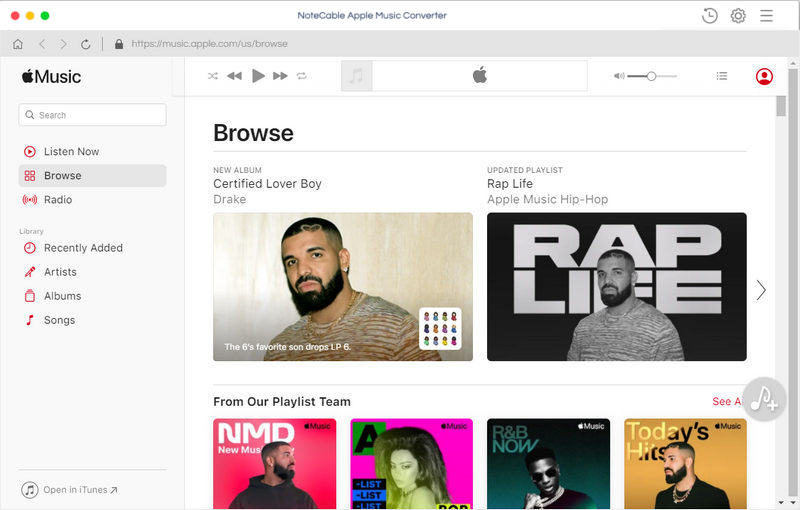


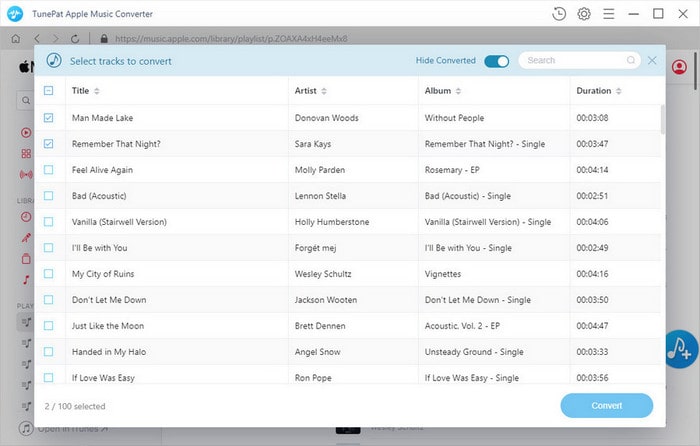
Step 2. Import Apple Music files from iTunes to the program.
Click + button or click the main windows to select Apple Music from pop-up iTunes library. Alternatively, you can directly drag and drop Apple Music songs to the main interface.
Step 3. Select output format and output path.
Click Setting icon on the top right corner of the interface or click iTunes Apple Music Converter Menu. It will pop up the Preferences window, select output format and output path as you need.

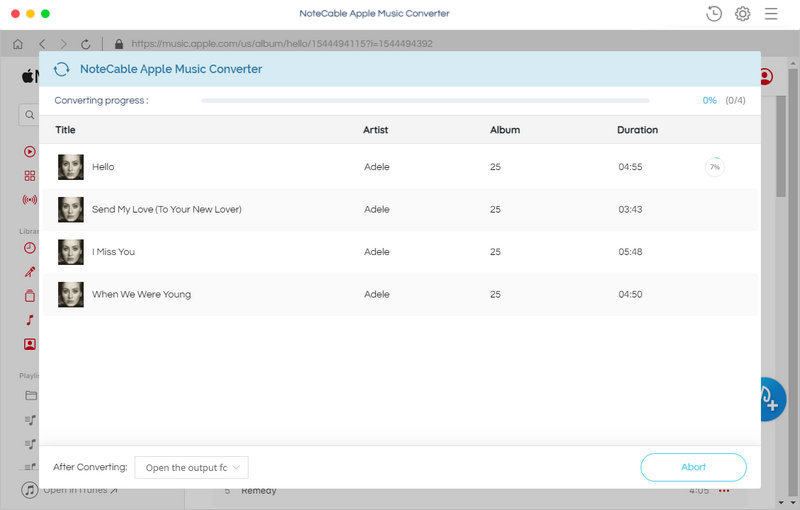
Step 4. Start Apple Music conversion.
Finally, click CONVERT button to start Apple Music conversion process.
Step 5. Save Apple Music to an external hard drive.
Once the conversion finished, you can find the converted Apple Music files in history folder. Now you can drag and drop the converted iTunes songs to the external drive so that you can save Apple Music files on your External hard drive forever.
Note: The trial version of NoteCable Atunes Music converter has 3-minute conversion limit. You can unlock the time limitation by purchasing the full version at $14.95.
iTunes Apple Music Converter for Mac
![]()
![]()
iTunes Apple Music Converter for Win
![]()
![]()
Hot Products


We Promise
