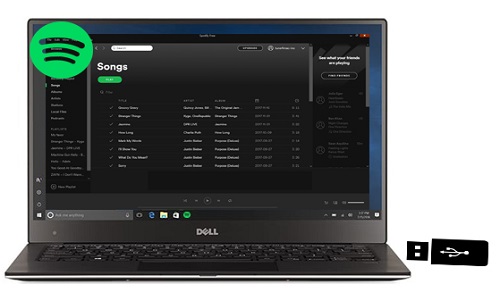
How to Transfer Spotify Music to USB drive
'I want to save my Spotify offline songs to a usb drive so I can use this on my iPad instead of taking up 3GB of space on my iPad. Is it possible to direct Spotify Premium to save those offline songs to a USB?''How do I sync Spotify playlist to my USB stick?'
If you move your Spotify songs to USB drive directly, then you may failed. With Spotify Premium, you can only stream music for offline listening with Spotify app. The offline playlists are essentially a cached stream, and not individually stored songs. What was worse, the cached songs are encrypted by DRM, which would prevent you moving spotify songs out of Spotify to other devices like USB as you want.
If you want to transfer Spotify music to your USB drive, the first thing you should do is to remove DRM from Spotify songs. Specially designed to remove DRM from Spotify music by converting them to almost popular file formats including MP3, Tune4Mac Spotify Audio Converter is the best choice for you.
This program enables you to download music from Spotify and save as MP3, AAC, WMA and FLAC. In this way, you can play Spotify tracks and playlists on any portable devices like iPad, iPhone, iPod, PS4, Xbox, Android phones and save all your streamed music to internal storag drive like USB stick, SD card and so on.
Tutorial to Convert Spotify music to MP3, AAC...
This tutorial will provide an easy way to convert Spotify songs and move them to USB drive. Firstly, download and install Tune4Mac Spotify Audio Converter on your computer, then launch it.
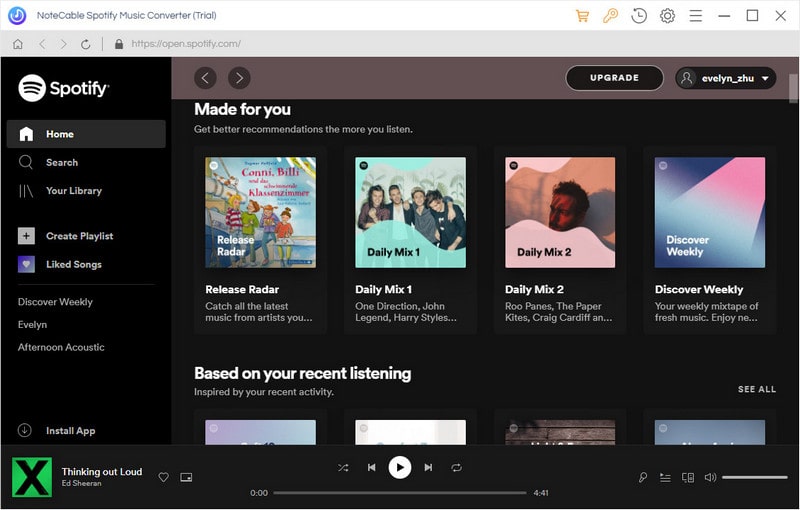


Step 1. Add Spotify songs to the program.
Click + button to add Spotify songs to the program. It will pop-up a new Add Music window. You can find a playlist or album you want to play, then copy the playlist link and paste in the blank dialog. Or directly drag and drop the playlist link from Spotify.
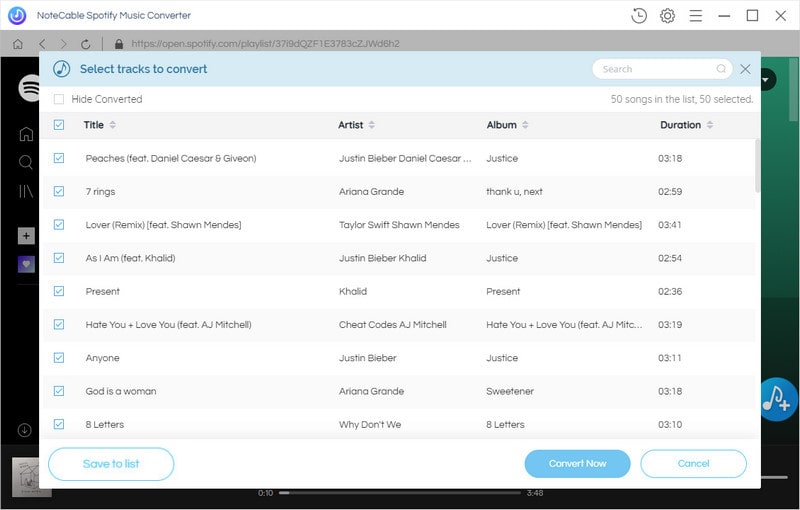
Once the selected files are added to the program, click OK.
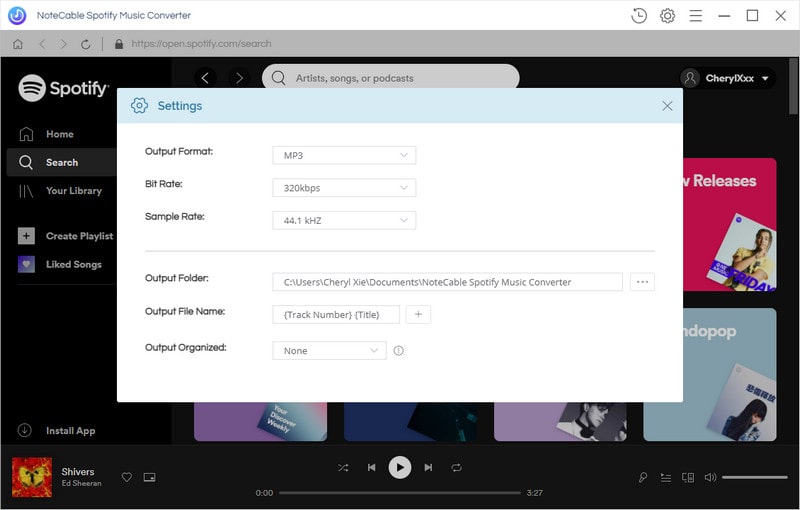
Step 2. Select output format as you like.
Click the setting button on the upper right corner of the screen. You can choose MP3, WAV, AAC, FLAC, ALAC and AIFF as output format from the pop-up Setting window.
Besides, you can specify the actual path to which the converted music file is saved by changing the Output Folder.
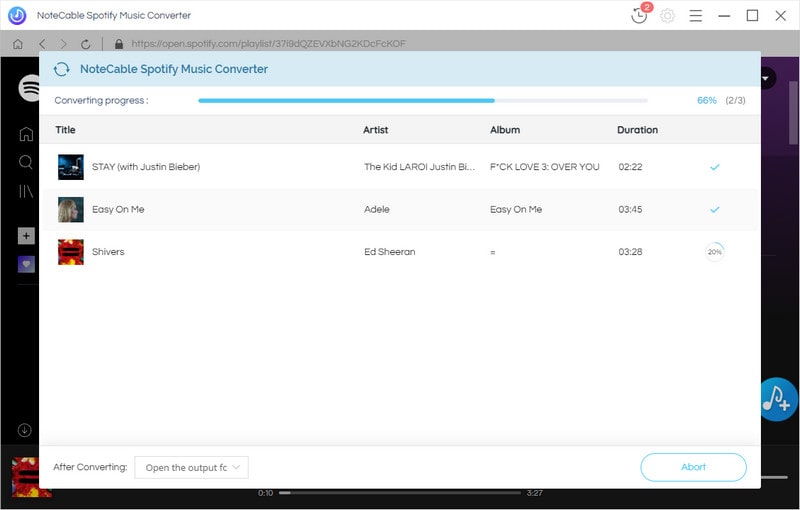
Step 3. Start downloading Spotify music.
Click Convert button, the Spotify music downloading process will start automatically.
Step 4. Transfer the converted Spotify songs to USB drive.
After the conversion, you can find the converted Spotify songs in history folder. Plug the USB cable into your PC, select the converted Spotify files and drag them to the USB. You can also right-click your selected files and select "Send to" - "USB Name." Once the copying process is finished, you can eject the USB drive from the computer. Now your Spotify songs are transferred to USB drive successfully.
Note: The trial version of NoteCable Spotify Converter has 3-minute conversion limit, and users can convert 3 songs at a time. You can unlock the time limitation by purchasing the full version at $14.95.
Spotify Audio Converter for Mac
![]()
![]()
Spotify Audio Converter for Windows
![]()
![]()
Related articles:
![]() How to Get Spotify Premium for Free
How to Get Spotify Premium for Free
![]() The difference between Spotify and Apple Music
The difference between Spotify and Apple Music
![]() Convert Spotify Music or Playlists to MP3 format
Convert Spotify Music or Playlists to MP3 format
![]() Burn Spotify Music or Playlists to a CD for Mac
Burn Spotify Music or Playlists to a CD for Mac
Hot Products

We Promise
